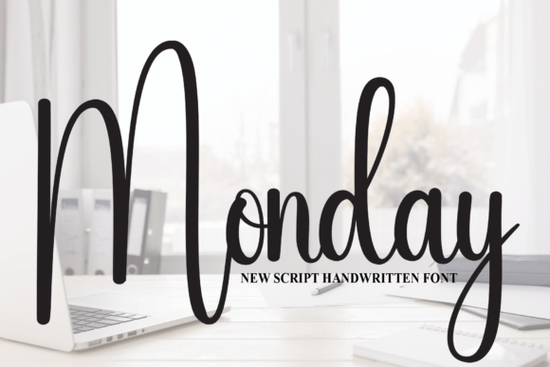
Finding the right typography for a personal project often comes down to matching the mood of the event. If you need something sweet and friendly, the Monday Font is a handwritten typeface that brings a fun, relaxed vibe to your work. Designed with natural curves and an easygoing flow, it works exceptionally well for wedding invitations, greeting cards, and custom crafts. Whether you are a small business owner creating branded packaging or a hobbyist making handmade gifts, this script adds a lovely, human touch to your layouts.
What projects work best with a relaxed handwritten style?
This type of typography shines when you want your audience to feel a personal connection. Because the lettering mimics natural handwriting, it is highly effective for print-on-demand sellers creating custom coffee mugs, canvas tote bags, or everyday apparel. It is actually featured in a Creative Fabrica class focused on making custom coozies perfect for all events, proving how well it adapts to curved surfaces and drinkware. When you use a casual script for party favors or bridal shower keepsakes, the final product feels custom-made rather than mass-produced.
For wedding stationery, the relaxed flow provides an elegant yet approachable alternative to stiff, formal calligraphy. You can use it for the names of the couple on the main invitation. To ensure everything remains easy to read, pair the decorative title with a clean, minimalist sans-serif for the venue details, RSVP information, and registry links.
How do you pair this script with other typefaces?
Good design usually relies on contrast. When you are working with a bouncy, friendly script, you want to balance it with something grounded. If you need a secondary font for body text, look for simple, clean options that do not compete for attention. Sometimes, you might want to explore an autography style to add a raw, signature-like feel to a photography watermark. Other times, your project might call for a more enchanting script if you are designing a fantasy-themed book cover or a highly romantic bridal suite.
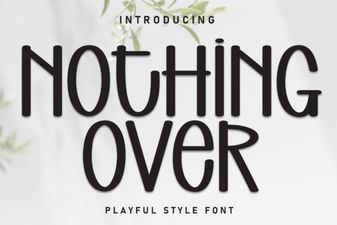
If you are designing for a spring-themed event, combining this specific typeface with a wonderful butterfly motif can create a cohesive, nature-inspired aesthetic for your stationery. On the other hand, if you are creating a basic craft tutorial or a layout meant for an absolute beginner, keeping the design choices minimal is the best approach. Stick to one decorative script for your main titles and a basic serif for the step-by-step instructions to avoid visual clutter.
Can crafters use this for vinyl cutting machines?
Yes, handmade crafters frequently use sweet handwritten typefaces with cutting machines like Cricut or Silhouette. The smooth curves and connected letters are generally quite forgiving when cut from adhesive vinyl. To get the best results on items like wooden signs or glass tumblers, always make sure the font is properly installed in your system. More importantly, use the weld feature in your design software before sending the file to the machine. Welding connects the overlapping letters into a single cut line, which prevents the blade from cutting through the delicate loops and ruining your decal.
What are the best practices for digital and print design?
When sending your designs to a professional printer, you should always convert your text to outlines or flatten the image. This ensures the printer reads the lettering as a graphic rather than live text, preventing any missing font errors on their end. For dark backgrounds, use a high-contrast color like crisp white or metallic gold to make the delicate strokes pop. If you are using it for social media graphics, place the text over a slightly darkened photo background so the thin lines remain legible on mobile screens.
Ready to start your next design?
Before you finalize your layout or send it to production, run through this quick checklist to ensure your project turns out perfectly:
- Check readability: Make sure the looping letters do not overlap in a way that makes words hard to decipher from a distance.
- Weld your text: If cutting with adhesive or heat transfer vinyl, always merge the letters into one continuous path.
- Mind the spacing: Adjust the kerning manually if certain letter combinations look too tight or too far apart.
- Test print: Print a single copy on regular paper to verify the size and line thickness before using expensive cardstock or specialty vinyl.
 Better Font Choices for Every Design Project
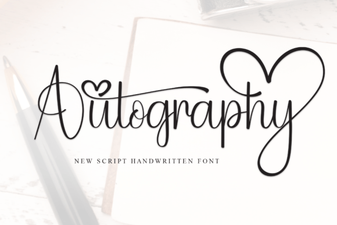 Craft Signature Styles with Autography Font
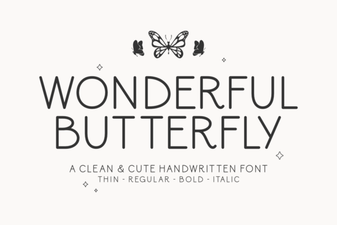 Wonderful Butterfly Font: Design Tips & Creative Ideas
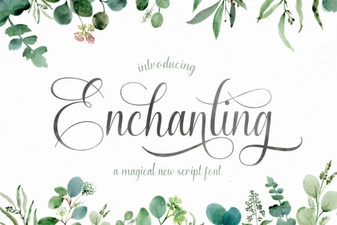 Enchanting Script Fonts for Beautiful Designs
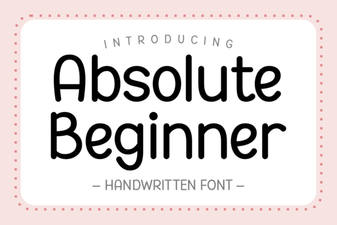 Start Your Creative Journey with Beginner Fonts
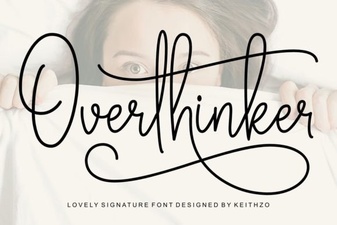 A Creative Font for the Analytical Mind